Adding New Users
Adding new users to IndySoft Calibration Management is a quick and easy process that takes only a few minutes.
This section will describe the steps necessary to ensure proper application of adding new users to IndySoft.
Step 1: Launch Profile Manager from the Home Layout. In v13, this will be done from the Admin Panel. Note: You must be a System Administrator to gain access to the Profile Manager.

Step 2: From the Profile Manager, Select the "Add New User" icon.
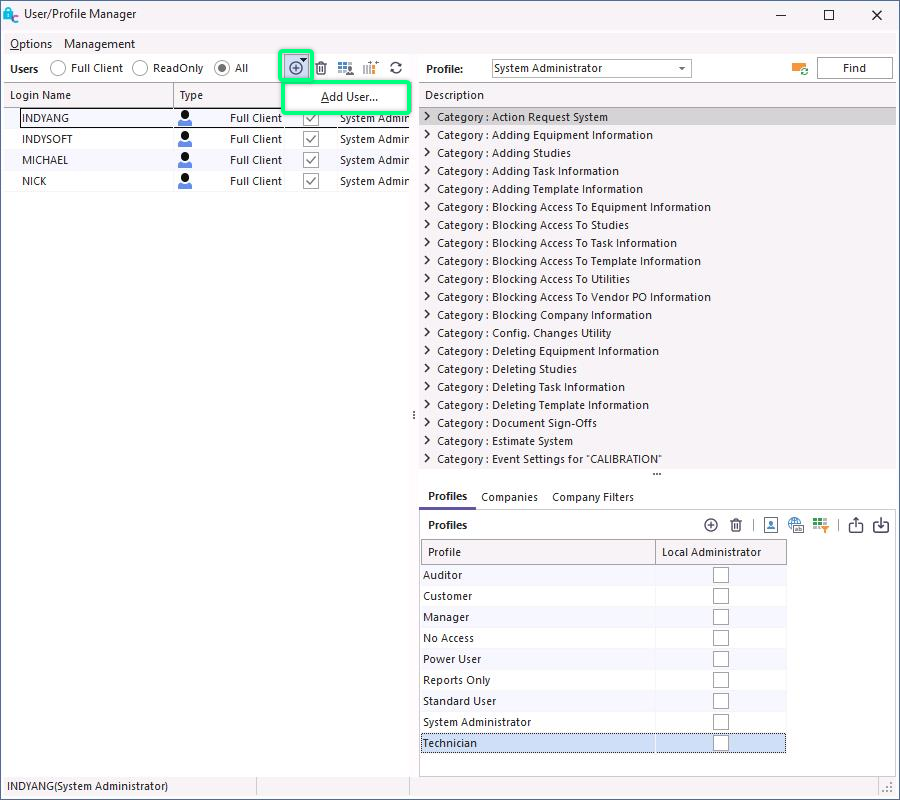
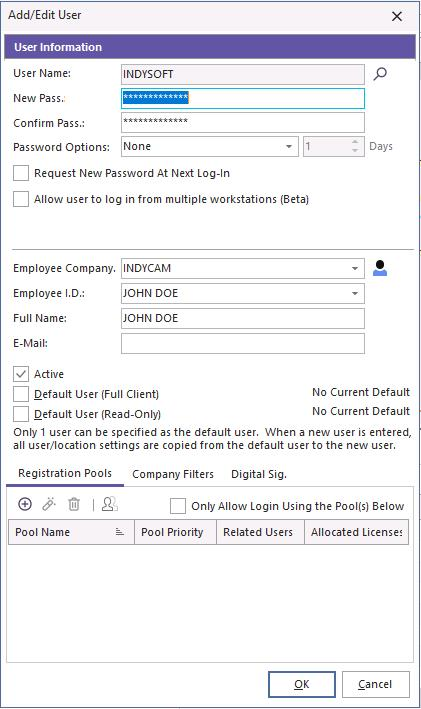
Step 3. Begin adding the new user information as shown below. Note: The user name must be one word with no spaces.
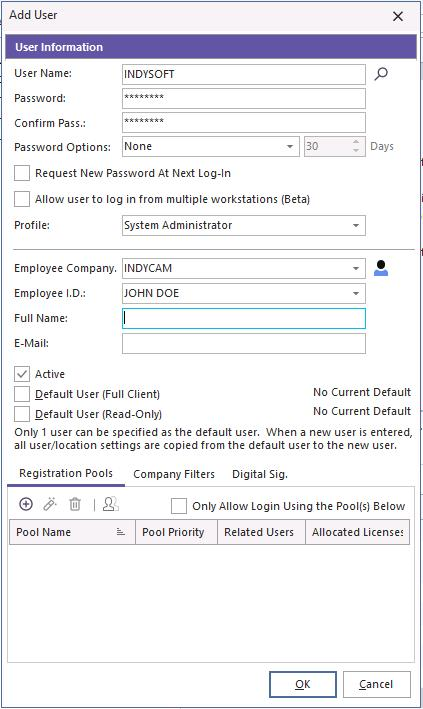
Give each new user a password to log on for the first time. Check the box that says "Request New Password At Next Log-In." This will allow users to add their password in privacy when they log in for the first time. Passwords are not stored anywhere in IndySoft, so if a user forgets their password, the System Administrator must re-enter it.
Profiles: IndySoft comes pre-loaded with several profiles for you to choose from, the following is a short description of each of these:
Auditor: Used for auditing purposes, this profile has limited access and, by default, cannot add new equipment.
Power User: This profile has access to most tasks but has limited access to utilities
Reports Only: Used for reporting purposes only.
Standard User: This profile has access to do most tasks but cannot add to the add/edit list.
System Administrator: Has full access to all utilities and can perform any actions.
Step 4. Adding the user name to the employee list. This is done by clicking the Employee ID icon
![]() . The Employee Add/Edit List shown below will appear.
. The Employee Add/Edit List shown below will appear.
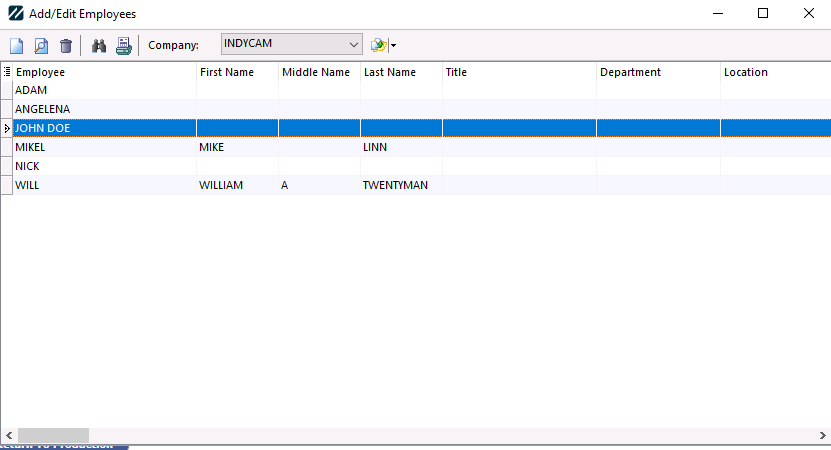
Add the new user/employee by clicking the "Add New" icon![]() on the toolbar. The employee dialog box will open. If entered in the add/edit user dialog, then the new employee being added will automatically open within the add/edit employee dialog box. Enter all the desired information.
on the toolbar. The employee dialog box will open. If entered in the add/edit user dialog, then the new employee being added will automatically open within the add/edit employee dialog box. Enter all the desired information.
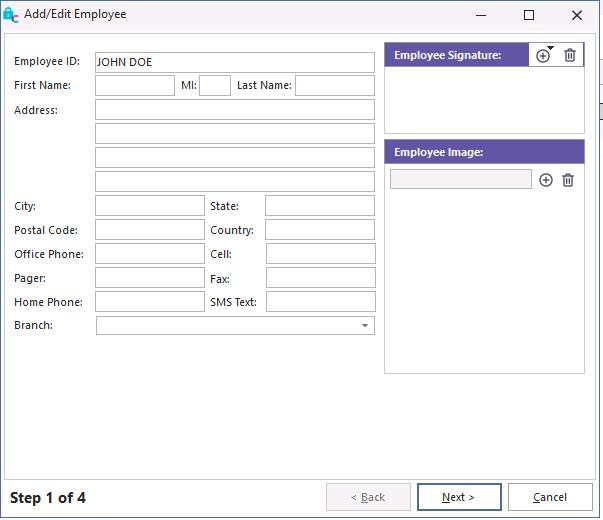
Click "Next."
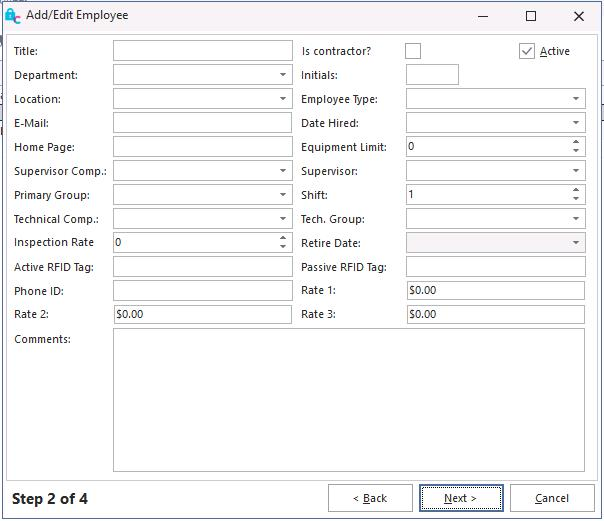
Click "Next."
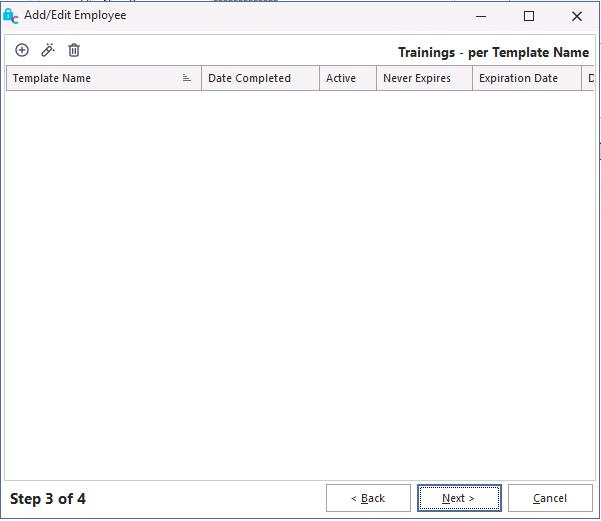
Step 3 is used to record the training templates for the user. [See user guide for more information about utilizing training templates.]
Click "Next."
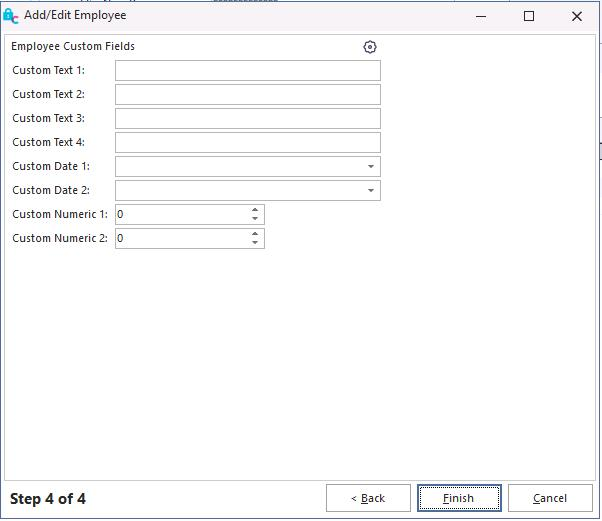
Complete the employee information process and click "Finish."
The new user has now been added to the Employee List. Close the Add/Edit dialog box.
Step 5. From the Employee ID drop-down, select the new user name. This activates the user in the system.
Step 6. Type in the user's full name and click "OK."
Step 7. Select a profile to use. Power User is usually best as it has the highest level of security right below System Administrator. Profiles can be added to a user name by dragging and dropping it on the user name from the Profiles List.
If a user forgets a password, it must be re-entered by the System Administrator. From the Profile Manager, highlight the user name and right mouse click on it. Select the "Edit User" option and re-enter the new generic password. The user can then log on and change the password to their choice. |